How to manage page navigation in #PowerApps Portals when not presenting a data entry form
Tweet
If a page on your Power Apps Portal does not capture or present data to the user, there is no obvious functionality to provide a button allowing the user to navigate to the next page
Efforts should always be made to use out of the box functionality to ensure benefits of the portals are used. For example, using pure html to create a button sacrifices URL change/history updates
Here are three methods of including a button which are presented in typical order of preference
1. Basic Form referencing an empty tab
Include a tab on an appropriate entity’s system form with no section headers and no attributes
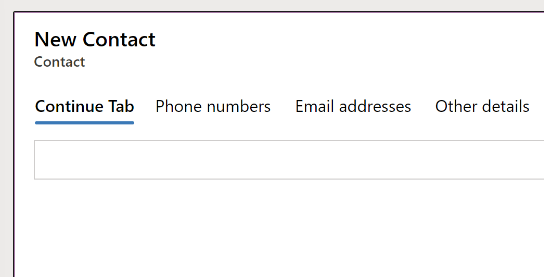
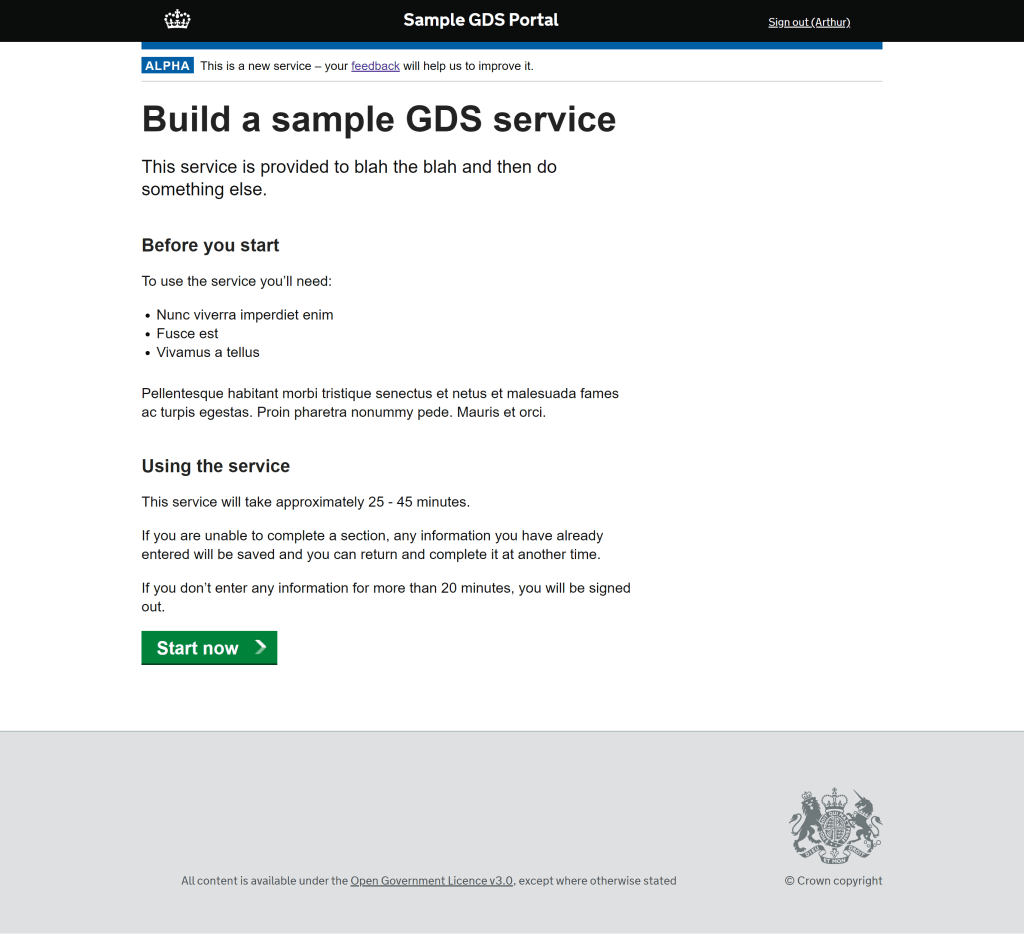
Reference this tab in a new basic form (aka entity form) and include it on the required page. This will include the button but no data capture/presentation. (The above sample portal screen shot uses this method)
The entity used can be either:
- the Contact (e.g. for an authenticated/logged in user), or
- the entity in scope for the present service (e.g. lead)
Advantages of this option
- Uses out of the box functionality for where to navigate to. Offers the only zero code option I can think of.
- Applies any relevant security (i.e. table permissions, formerly entity permissions. Yes, I’ll get bored of pointing out the terminology changes pretty soon…)
- Exposes all basic form functionality for enhancement, e.g. CSS, labels, basic form metadata
- Attributes can be added and hidden (e.g. update status to “reading completed”)
Disadvantages of this option
- Each click is still a submit back to CRM. Be sure that any update messages (i.e. plugins or workflows) are not triggered
- Only one basic form per page is supported. This solution does not support multiple navigation buttons
2. Site markers
Create a site marker record, pointing to the required web page. Site markers are globally available in liquid so can be referenced without a need for queries/hits to the database
Advantages of this option
- Multiples can be used on a single web page (e.g. as anchor hrefs)
- Can be used to expand a convention-based configuration paradigm (e.g. name the site markers in a way that matches incoming data)
- Allows manipulation and control of the URL (e.g. append custom URL parameter) which basic forms do not in all circumstances
- Still uses out of the box functionality to avoid hard-coding urls, make use of URL change history
- Centralises page markers and avoids duplication and removes typos from hard-coded URLs in web templates
Disadvantages of this option
- No additional functionality or metadata provided as with basic forms, just a reference to a web page and it’s url
- If used excessively, ends up with lots of site markers that is another entity of reference data to be maintained
- Cannot be referenced from a web page record, it must be included in the web template (either hard-coded or via convention) which potentially breaks a generic web template inheritance
- Only references portal web pages, not external URLs
3. Custom HTML
Use traditional HTML tags in the web template. Avoid this option whenever possible
If using this option, at least use a site setting for the value, there is never any need to hard-code a URL directly in a web template
Advantages of this option
- Complete control
- Only option which allows manipulation of an external URL.
Disadvantages of this option
- No use of out of the box functionality
- Duplication of URLs, likelihood of typos and/or introduction of 404s when URLs change
- Greater maintenance cost
4. Move to next sibling page with liquid
After posting this set, I thought of another, so linking back here for completeness!
I’d love to hear if you have any other options you’ve used successfully or if you have any comments on the advantages and disadvantages of the patterns outlined above.
